Why agents need paid metadata updates
NFT marketplaces and aggregators rely on up-to-date metadata to display accurate asset information, including images, attributes, and ownership history. When an NFT’s underlying data changes—such as a generative art piece evolving or a utility token granting new access rights—the metadata must refresh to reflect that reality. Without automated updates, listings become stale, misleading buyers, and breaking integrations that depend on real-time data.
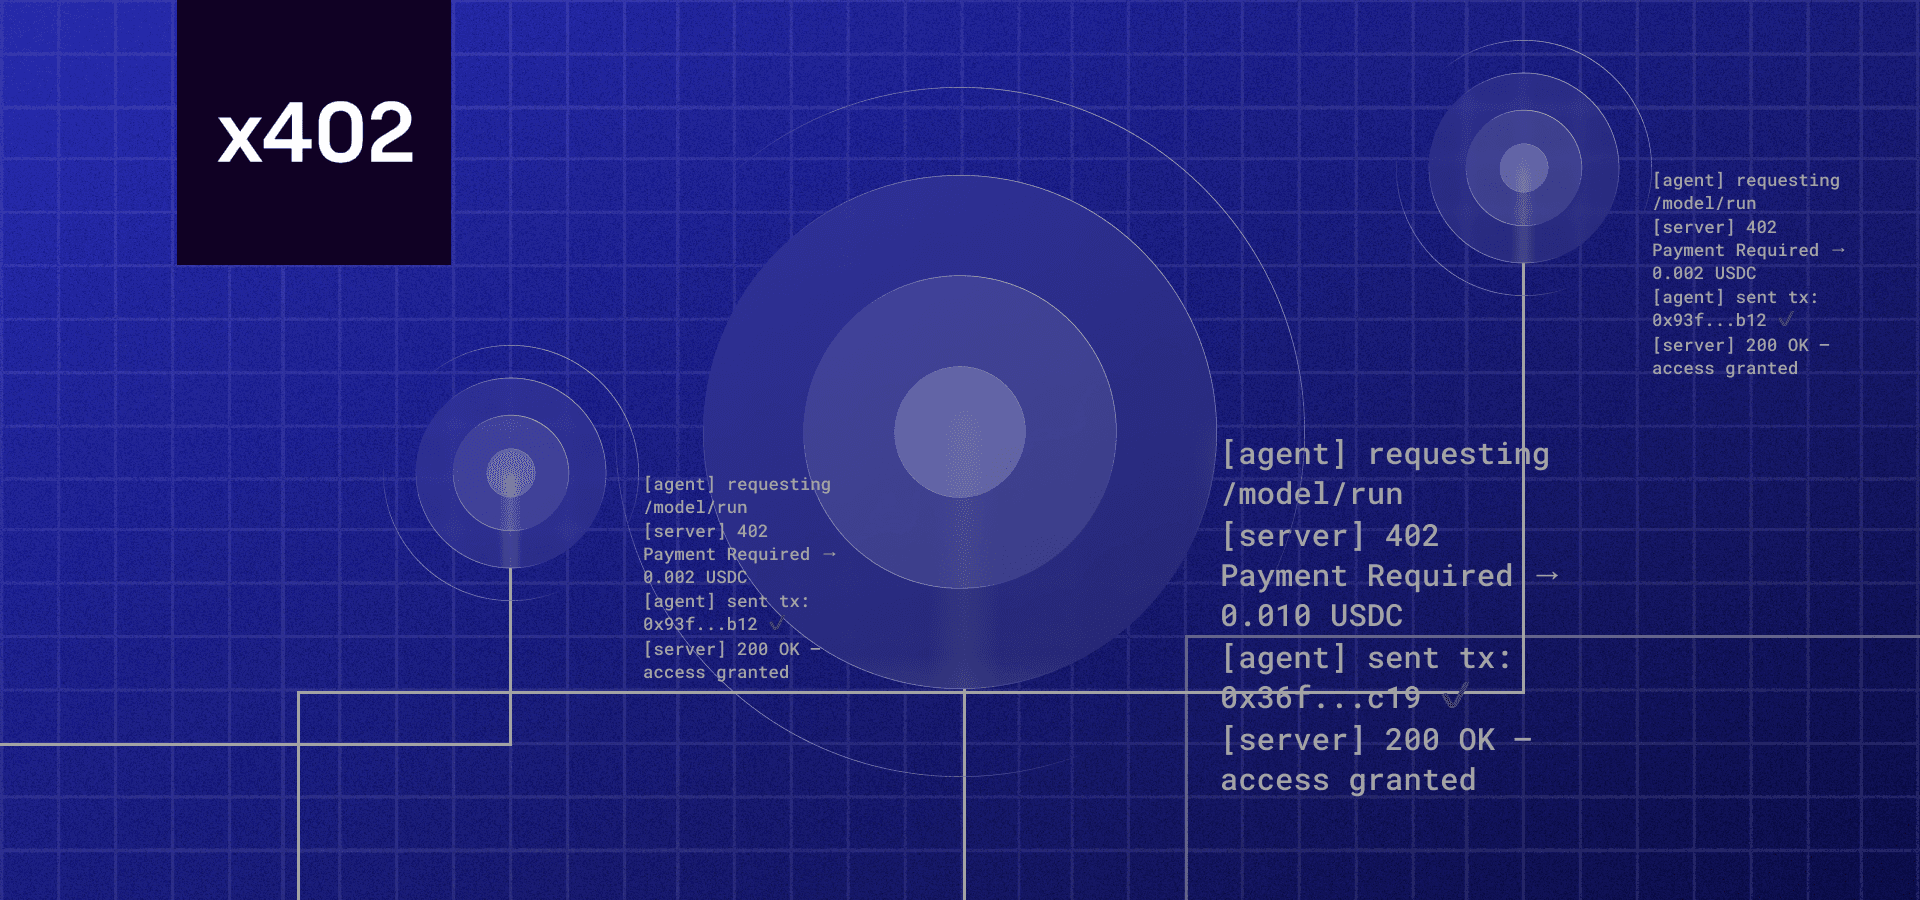
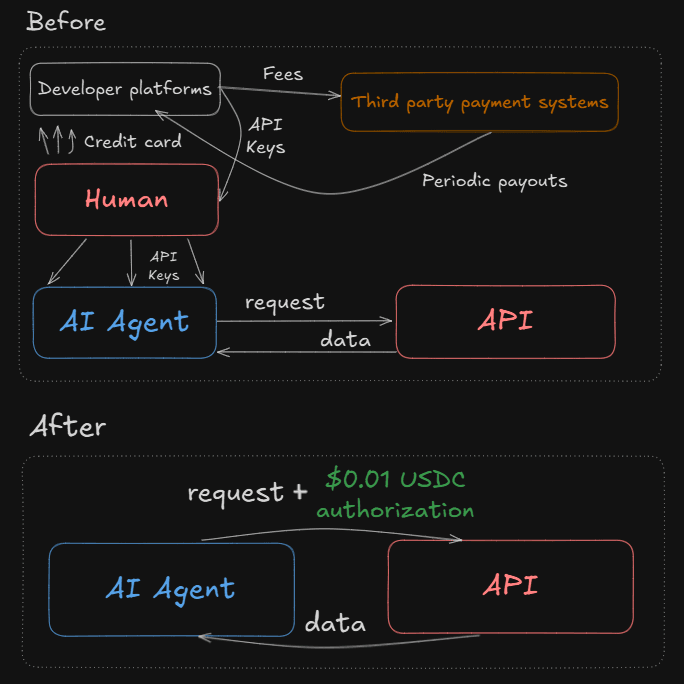
This is where x402 changes the game. By integrating x402 into your metadata API, you allow AI agents to autonomously trigger updates and pay for them in real time. No wallets to sign, no humans to approve. The agent checks the current state, decides an update is needed, and sends a payment via the HTTP header. The API verifies the payment and returns the fresh metadata. This loop happens in milliseconds, at scale, across thousands of assets.
For developers, this means building APIs that are not just endpoints, but revenue-generating services. For marketplaces, it means ensuring data accuracy without manual oversight. The combination of automated triggers and crypto-native payments creates a self-sustaining ecosystem where data quality is incentivized and maintained by the market itself.
Setting up the x402 payment gateway
To accept payments for your NFT metadata refresh service, you need a payment gateway that understands the x402 protocol. The Coinbase Developer Platform (CDP) provides the most straightforward integration for sellers, allowing your API to charge buyers and AI agents automatically.
This setup creates a bridge between your endpoint and the blockchain, handling the transaction verification so you don't have to. You will use the CDP SDK to manage credentials and verify payments before serving metadata.
Log in to the Coinbase Developer Platform and create a new project. This generates the API key and secret you will need to authenticate your requests. Select "x402" as the primary use case to ensure the correct permissions are enabled for payment verification.
Add the official Coinbase CDP SDK to your project dependencies. This library provides the utilities needed to sign requests and verify x402 payment proofs. It abstracts the complex cryptographic steps required to validate that a buyer has actually paid for the endpoint access.
Implement the verification logic in your endpoint handler. When a request arrives, use the SDK to check the x402 payment header. If the payment is valid and the transaction is confirmed on-chain, your API should proceed to return the requested NFT metadata. If not, return a 402 Payment Required error.
Understanding the cost of transactions helps in setting appropriate payment tiers. Since x402 often uses ETH or stablecoins, market volatility can impact your revenue. Monitoring the live price of the asset you accept ensures your pricing remains consistent relative to the network's gas fees and the asset's value.
By following these steps, you establish a secure, automated payment flow. The CDP integration handles the heavy lifting, allowing you to focus on the logic of your metadata refresh service rather than the intricacies of blockchain payment verification.
Build the metadata refresh endpoint
This endpoint serves as the trigger for updating NFT metadata. It needs to handle requests from your x402-compliant agent or an external scheduler. The goal is simple: tell the marketplace or indexer to re-fetch the token’s attributes from the blockchain.
We will walk through the five core steps to building this logic, focusing on idempotency and reliable error handling.

Start by checking that the request contains a valid contractAddress, tokenId, and chainId. Reject any request missing these fields with a 400 Bad Request. This prevents your backend from wasting cycles on malformed data. Since x402 endpoints often handle machine-to-machine traffic, strict validation is your first line of defense against noise.

Before sending a new request to the indexer, check your database or cache to see if a refresh for this specific tokenId is already in progress or recently completed. If a refresh happened within the last 60 seconds, return a 200 OK with a message like "Refresh already in progress." This idempotency check prevents rate-limiting issues with providers like Alchemy or OpenSea, which throttle frequent requests for the same asset.
Once validated, send the refresh request to your chosen provider. You can use the OpenSea Refresh NFT Metadata API for marketplace-specific updates or the Alchemy NFT Metadata Refresh endpoint for broader indexer coverage. Ensure your API key is passed in the headers. Store the job status as "pending" in your database so you can track it.
Most metadata refresh endpoints are asynchronous; they return a 202 Accepted status immediately but take seconds or minutes to actually update the data. Your endpoint should return this status to the caller immediately. Do not wait for the indexer to finish. Instead, set up a webhook or a polling mechanism in the background to check the final status. This keeps your x402 endpoint responsive and fast.
If the provider returns a 5xx error or a rate-limit response (429), log the error and schedule a retry with exponential backoff. Do not fail the entire request immediately. If the refresh fails after three attempts, update the job status to "failed" and notify your agent. This ensures that transient network issues don’t break your metadata pipeline.
| Strategy | Primary Provider | Update Speed | Cost |
|---|---|---|---|
| Marketplace Refresh | OpenSea | Fast (1-5 mins) | Free |
| Indexer Refresh | Alchemy | Medium (5-30 mins) | API Call |
| On-Chain Update | Direct Contract | Instant (Block time) | Gas Fee |
By following these steps, you create a robust endpoint that keeps your NFT metadata fresh without overwhelming your infrastructure or the provider’s servers. Remember to monitor your API usage to stay within your provider’s rate limits.
Connect AI Agents to the Endpoint
The real value of x402 emerges when AI agents can autonomously pay for data. To connect an agent to your NFT metadata endpoint, you need to configure the client to handle the payment flow without human intervention. This involves setting up the necessary credentials, estimating costs, and signing transactions.
Configure Agent Credentials
Your agent needs a wallet to hold the funds and sign requests. Use a standard Ethereum-compatible wallet library like ethers.js or viem. Ensure the wallet has sufficient ETH to cover gas fees and the token payment. For NFT metadata, you might also need to support ERC-20 tokens if your endpoint accepts them.
Estimate and Pay Gas Fees
Agents must estimate transaction costs before calling the endpoint. Use the PriceWidget to monitor current gas prices and token values. This helps the agent decide whether to proceed with the request or wait for lower fees. You can integrate a gas price oracle or use the provider’s estimated gas limit to calculate the total cost.
Sign and Send the Request
Once the agent has the necessary funds and has estimated the cost, it can sign the payment request. The agent sends the request to your endpoint, including the signed payment proof. Your endpoint verifies the signature and releases the NFT metadata. This process is automated, allowing the agent to refresh metadata at scale.
Verify the Update and Payment
Before marking the automation as complete, you need to confirm two things: the blockchain transaction settled and the marketplace display updated. This section walks through the final verification steps.
Check the transaction hash in your wallet or block explorer. Ensure the status is "Success" and the required amount was deducted from the buyer's account. For real-time market context, monitor the asset's current valuation.
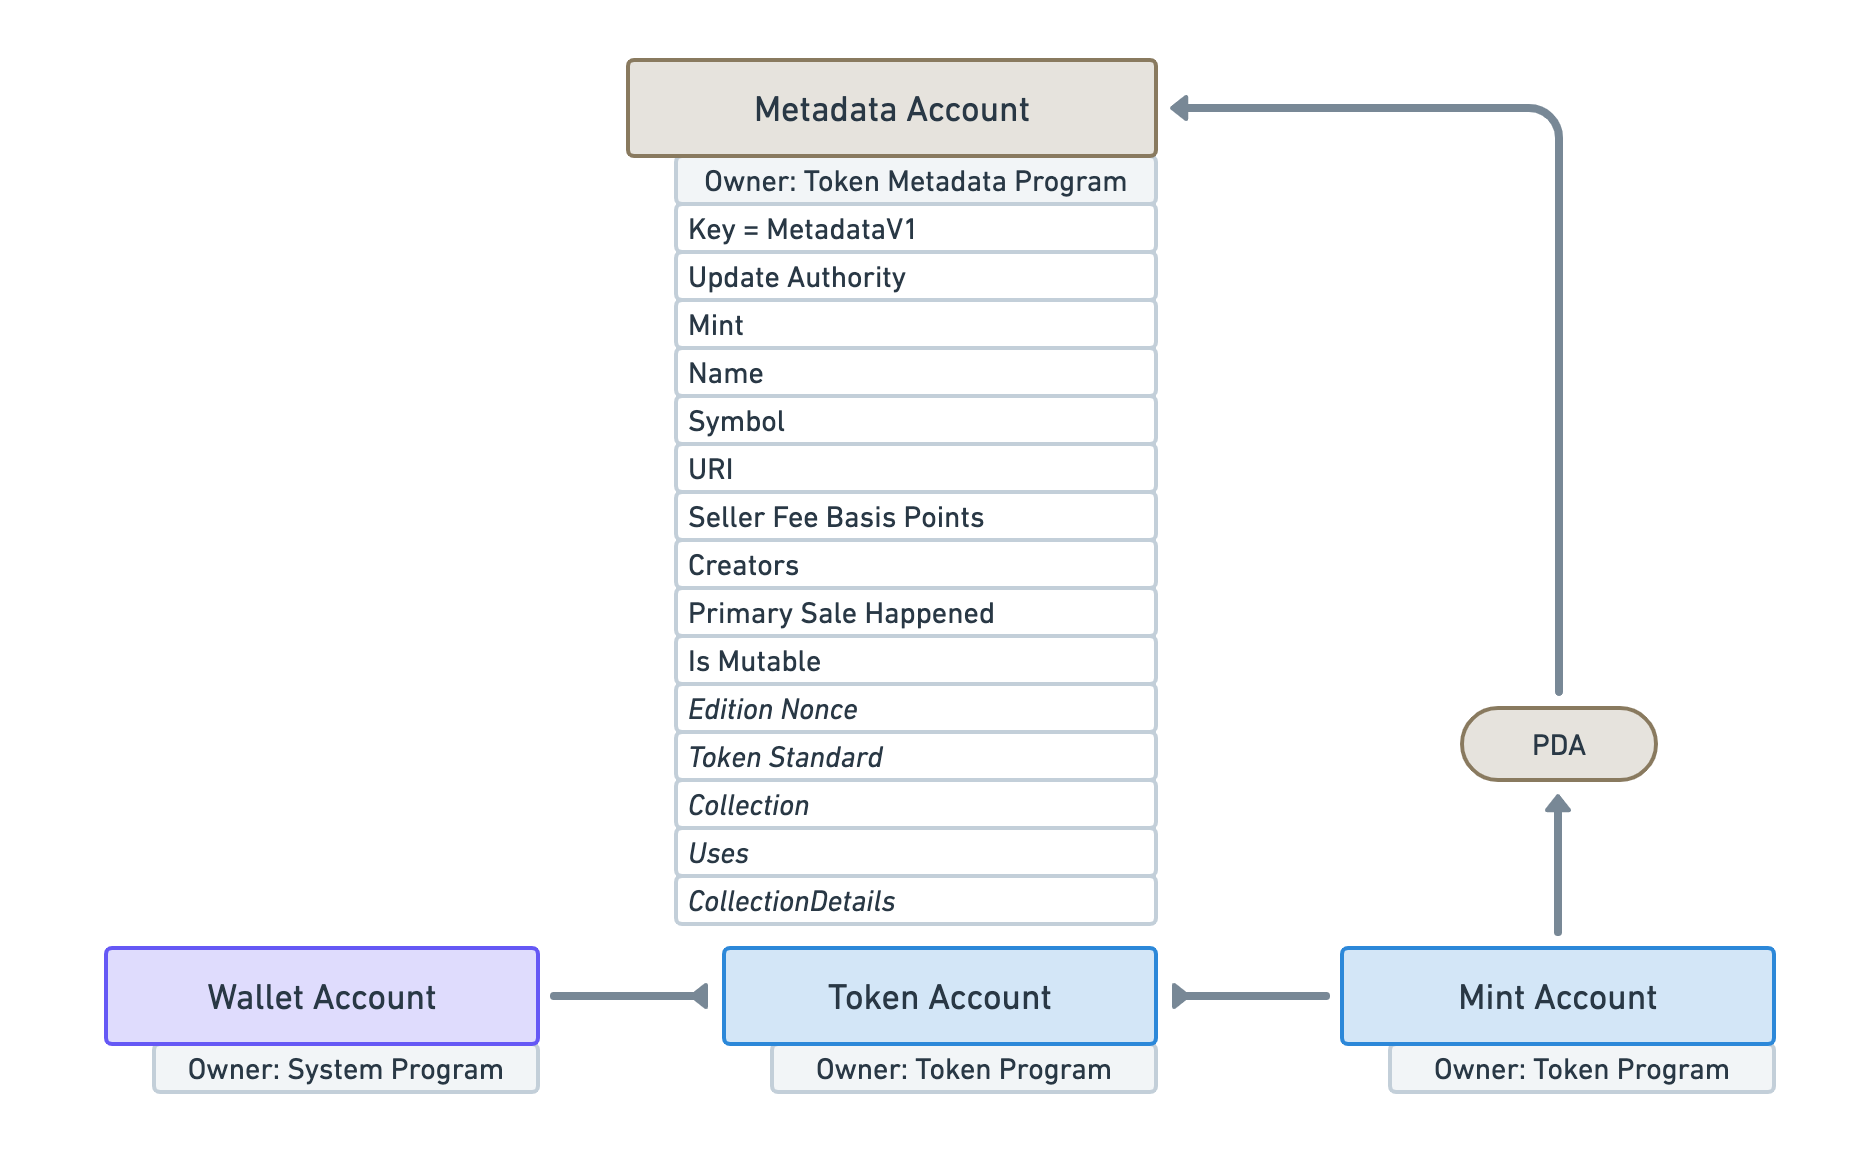
Query the smart contract directly to ensure the tokenURI or metadata fields reflect the new data. This step confirms the on-chain state is accurate before relying on marketplace caches.

Visit OpenSea or your target marketplace. If the metadata hasn't updated automatically, use the official "Refresh Metadata" tool to force a cache purge. This ensures the public view matches your on-chain data.
If the marketplace still shows old data after a manual refresh, check your IPFS pinning status. Most platforms rely on decentralized storage; if the pin is lost, the metadata will appear broken or empty.
No comments yet. Be the first to share your thoughts!