Set up the payment facilitator
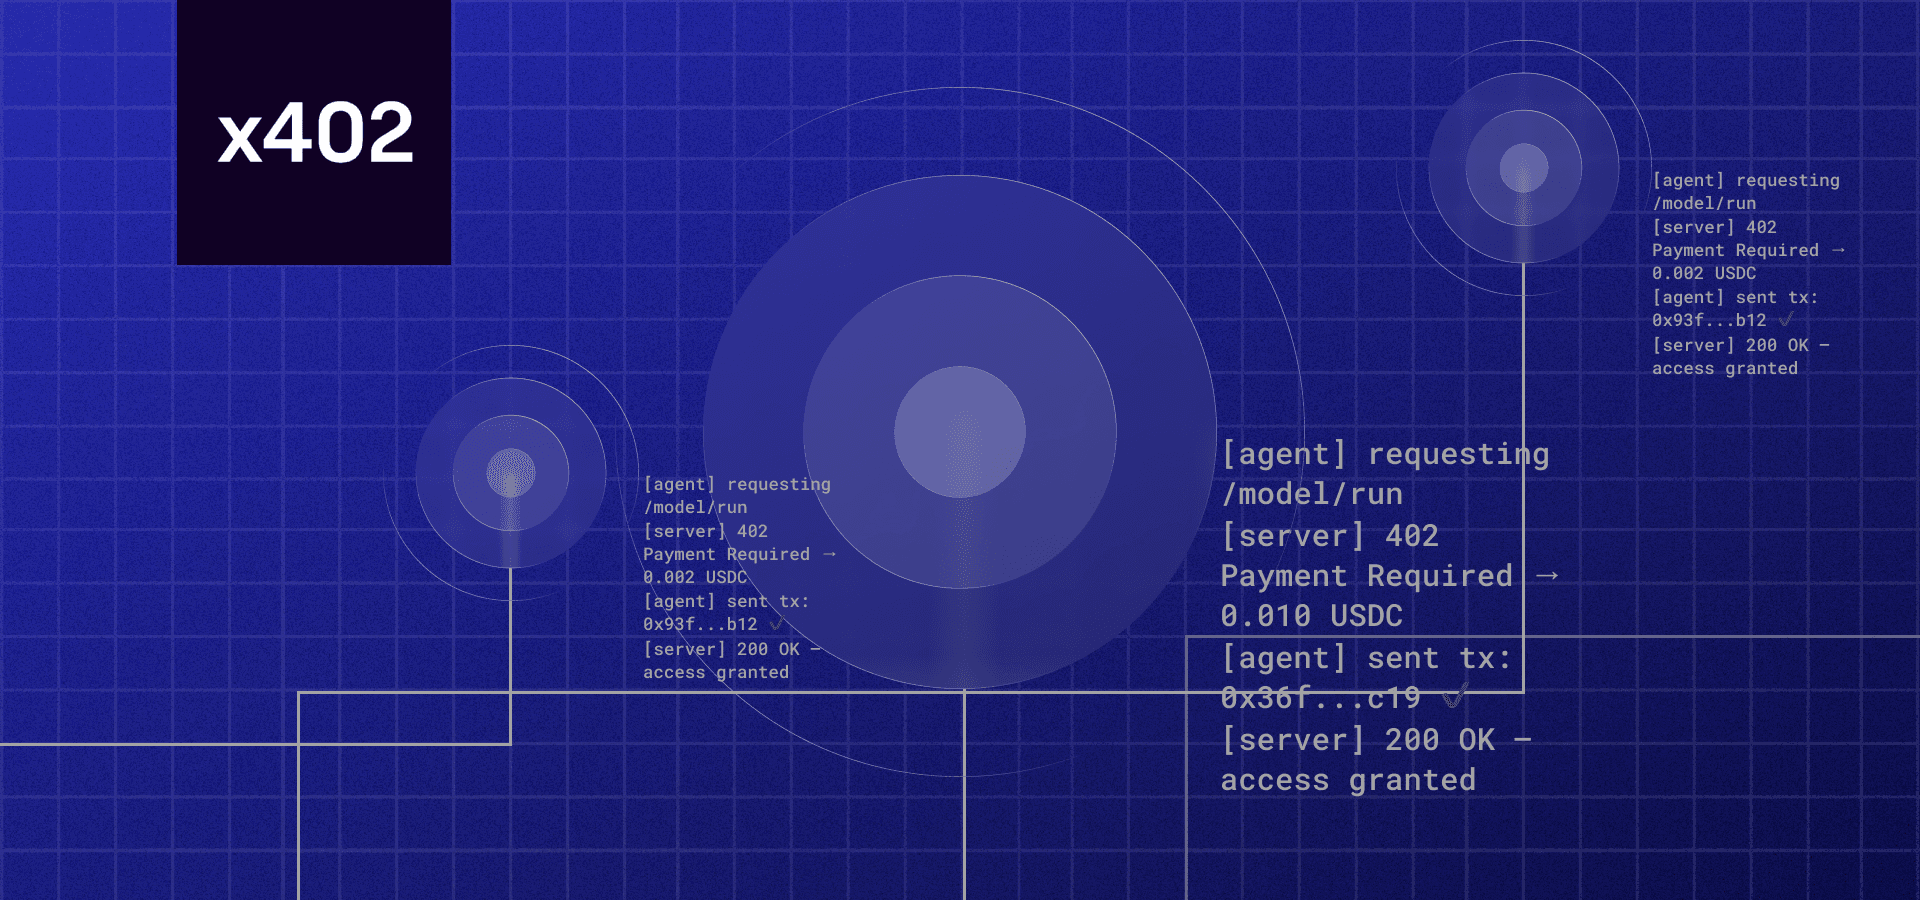
Before your API can accept x402 payments, you need a payment facilitator. Think of this facilitator as the bridge between your server and the blockchain. It handles the heavy lifting: detecting payment requests, signing transactions, and confirming that the buyer has actually paid before your API serves the NFT metadata.
We will use the official Coinbase Developer Platform (CDP) SDK to set this up. This approach keeps your implementation clean and relies on well-maintained, official documentation.
Start by adding the SDK to your project. This library provides the necessary tools to interact with the x402 standard. Run the following command in your terminal to install the package:
npm install @coinbase/developer-platform-sdk
This installs the core client that will manage your API keys and payment logic.
Next, import the client and initialize it with your API credentials. You will need your API_KEY and API_SECRET from the Coinbase Developer Portal. These credentials authenticate your facilitator with the network.
import { PaymentFacilitator } from '@coinbase/developer-platform-sdk';

const facilitator = new PaymentFacilitator({
  apiKey: process.env.CDP_API_KEY,
  apiSecret: process.env.CDP_API_SECRET,
});
Ensure these environment variables are set securely. Never hardcode secrets in your source code.

Now, wire the facilitator to your API endpoint. When a request hits your server, the facilitator intercepts it to check for payment. If the payment is valid, it allows the request to proceed; otherwise, it returns a payment required error.
app.get('/api/nft-metadata', async (req, res) => {
  try {
    // The facilitator verifies the payment signature
    const payment = await facilitator.verifyPayment(req);

    if (payment.status === 'paid') {
      res.json({ metadata: "Your NFT data here..." });
    } else {
      res.status(402).json({ error: "Payment required" });
    }
  } catch (error) {
    res.status(500).json({ error: error.message });
  }
});
This setup ensures that only paying users or agents can access your metadata.
With the facilitator running, your API is ready to enforce payment gates. The next step is to test this flow with a real transaction to ensure the metadata refresh triggers correctly upon payment confirmation.
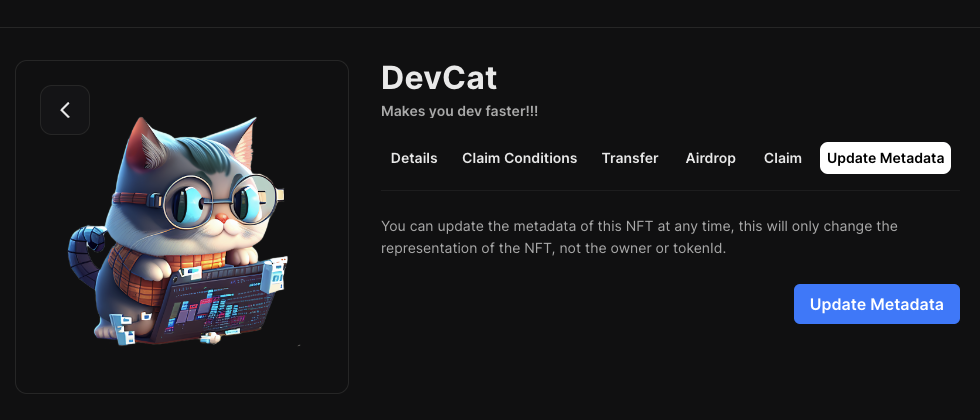
Write the metadata refresh logic
Updating NFT metadata is less about writing a script and more about managing state transitions. You need a function that fetches the current on-chain state, calculates the new attributes or URI, and pushes the update back to the network. Whether you are working with Solana or Ethereum, the pattern remains consistent: read, transform, write.
Start by retrieving the existing metadata. If you are on Solana, use the Metaplex JS SDK to fetch the metadata account for your token mint. For Ethereum-based NFTs, Thirdweb provides a straightforward nft.metadata endpoint to pull the current JSON blob. You need the existing data to merge new attributes rather than overwriting them entirely, which preserves the token’s history.
Once you have the current state, merge it with your new data. This might involve updating the image URI to point to a new IPFS hash, or appending a new trait to the attributes array. Ensure the structure matches the standard (SPL Metadata for Solana, ERC-721URIStorage for Ethereum). If you are using x402 endpoints, this is where you might trigger a payment or verification step before the update is allowed.
Execute the transaction. On Solana, you will create a SetMetadata instruction and sign it with your wallet. On Ethereum, you will call the updateMetadata function on your contract via Thirdweb or ethers.js. The network will process the transaction, and the new metadata will become the canonical state for that token ID.
After the transaction confirms, fetch the metadata again to ensure the update persisted. This is a critical sanity check, especially in high-stakes environments where a failed write could leave your NFT in an inconsistent state. If the data doesn’t match, retry the write or flag the error for manual review.


As an Amazon Associate, we may earn from qualifying purchases.
Attach x402 payment middleware
To prevent unauthorized metadata updates, you need to wrap your refresh logic in an x402-protected route. This ensures the API only executes the update after receiving a valid USDC payment signature from the buyer or their agent. We will use the Coinbase CDP and Thirdweb facilitator to handle the verification.
Initialize the Thirdweb x402 facilitator in your Next.js project. This library acts as the bridge between your API and the blockchain, handling the complex cryptography required to validate USDC payments. Install the package and configure it with your chain ID and contract details.
Define a new API endpoint (e.g., /api/nft/refresh) that accepts the metadata payload. Inside this route, import the facilitator and call its verification function. This function takes the incoming request headers and checks for the valid x402 payment signature. If the signature is missing or invalid, the function throws an error, halting execution.
Only if the payment verification passes, proceed to call your existing metadata update function. Pass the new metadata object to your smart contract or IPFS storage service. This ensures that the expensive gas or compute resources are only consumed after the buyer has paid. Return a success response to confirm the update.
Test with a mock payment
Before you connect your x402 endpoint to mainnet, verify the payment flow on a testnet. This ensures the webhook correctly triggers the metadata refresh without risking real assets or incurring transaction fees. We will use Solana Devnet for this example, as it mirrors mainnet behavior closely while remaining free to test.
First, switch your wallet and SDK configuration to Solana Devnet. If you are using the Solana Web3.js library, set your connection endpoint to https://api.devnet.solana.com. Ensure your metadata account points to a test NFT you own or control. This prevents accidental writes to production data.
Trigger the payment request that your x402 endpoint expects. Since this is a test, you can use a small amount of devnet SOL or a test token. The goal is to generate the specific HTTP request and signature that your server will receive. Log the incoming request payload to verify it matches the x402 specification.
Once the payment is confirmed on Devnet, check your server logs. The endpoint should parse the payment proof and initiate the metadata update. If you are using a service like Alchemy or Metaplex, confirm that the refresh request was submitted successfully. Watch for any 4xx or 5xx errors in your server response.
Finally, fetch the NFT metadata directly from the blockchain or a block explorer. Verify that the attributes, image URL, or name have updated to reflect the test change. If the metadata remains static, review your signing logic and RPC endpoint permissions. A successful test here means your x402 integration is ready for production.
Note: Always keep your testnet and mainnet private keys strictly separate. Never reuse credentials across environments to avoid accidental mainnet transactions during debugging.
For detailed implementation steps, refer to the Solana Web3.js documentation and the Metaplex JS SDK guide. These resources provide the necessary code snippets for constructing and verifying metadata updates on Solana.
No comments yet. Be the first to share your thoughts!