Why x402 fits metadata workflows
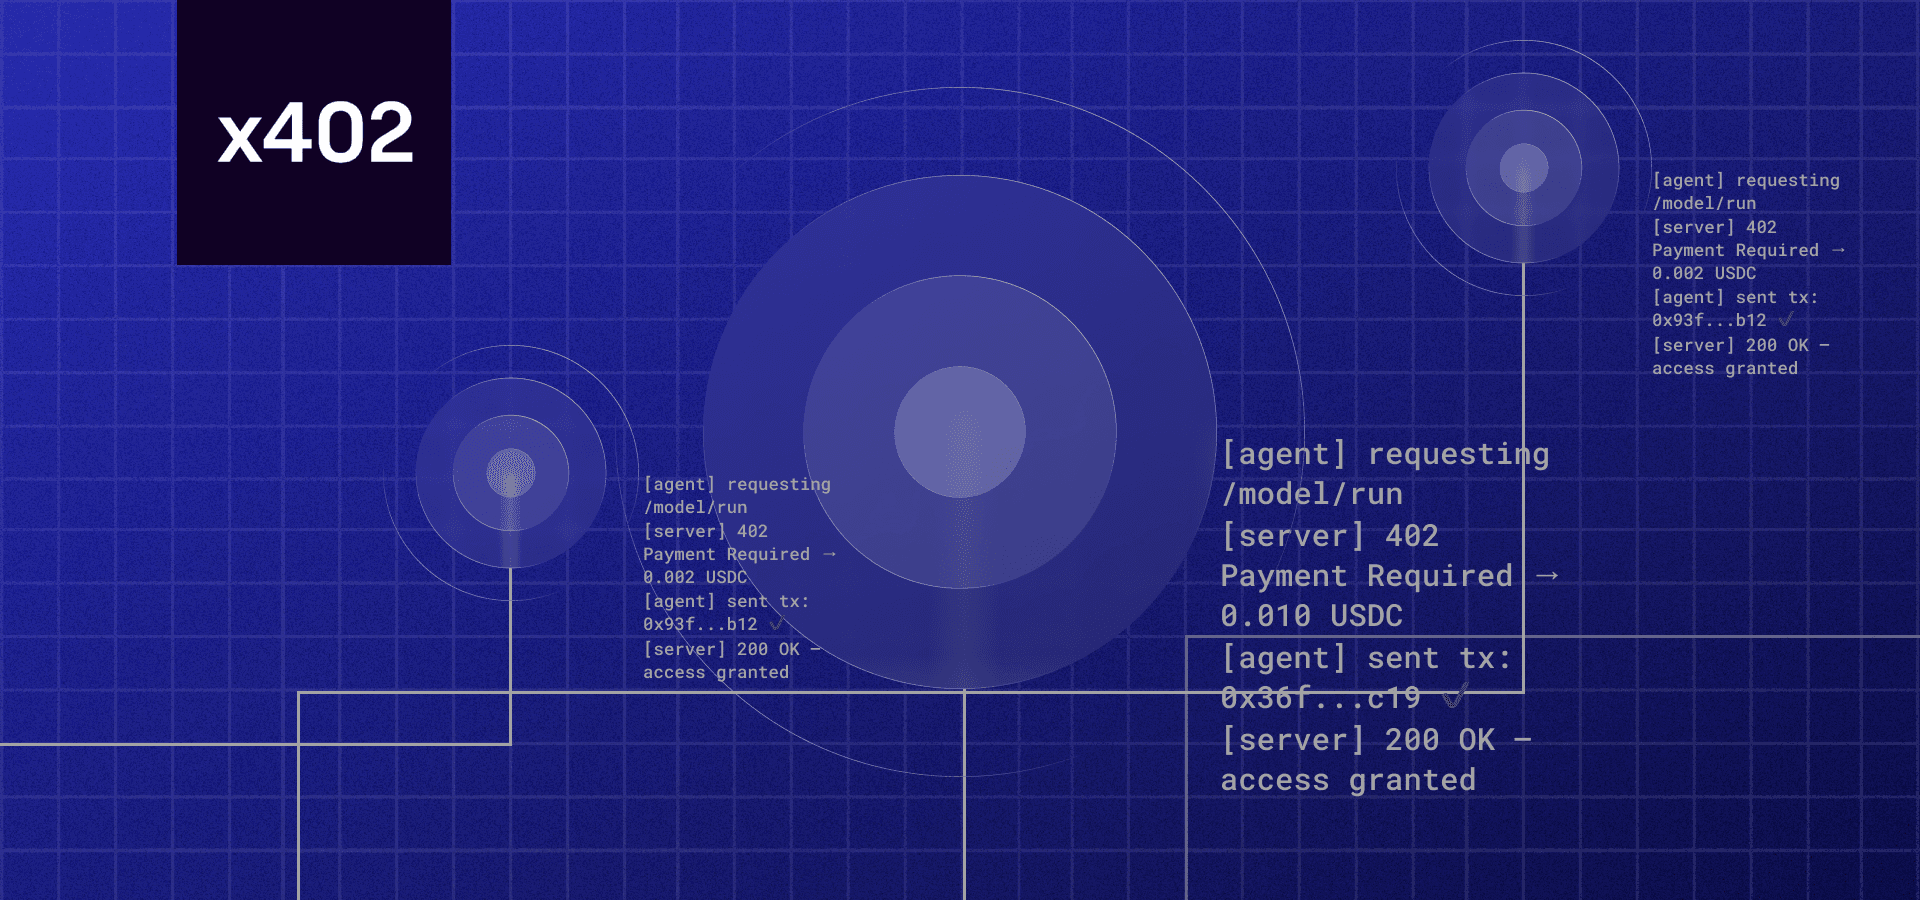
NFT metadata is rarely static. Prices shift, traits evolve, and external data sources change. Traditionally, updating this information requires manual intervention or free, unmonitored API calls that strain server resources. The x402 Endpoints for NFT Metadata Refresh guide addresses this friction by introducing a standardized protocol where API calls are paid with USDC.
This isn't just about monetization; it's about infrastructure. By integrating x402, you transform a routine maintenance task into a billable service. AI agents and automated bots can now query your endpoint, pay the fee, and receive fresh metadata without human approval. This creates a self-sustaining loop where data freshness is directly correlated with revenue.
The technical implementation is straightforward. Your API checks for a valid x402 payment header before processing the metadata refresh request. If the payment is verified on-chain, the update proceeds. This ensures that only committed actors—whether human users or autonomous agents—can trigger expensive backend operations.
For developers, this means reducing churn caused by unpaid API abuse while creating a new revenue stream for high-frequency data updates. The official x402 documentation provides the necessary steps to integrate this payment layer into existing seller endpoints.
Set up the x402 payment gateway
To enable x402 endpoints for NFT metadata refresh, you need a way to accept payments directly within your API calls. Instead of building a complex checkout flow, the x402 facilitator acts as the bridge between your server and the blockchain. It handles the verification of USDC payments, allowing your API to return metadata only after a transaction is confirmed.
This setup is particularly useful for high-frequency operations like metadata updates, where micro-transactions make traditional payment gateways too expensive. By using a facilitator, you offload the complexity of signature verification and chain monitoring.
Install the facilitator package
Start by adding the official facilitator library to your project. For most modern stacks, this is a simple dependency install. If you are using Node.js or a framework like Next.js, run the following command in your terminal:
npm install @thirdweb-dev/x402
This package provides the core functions needed to parse payment headers and verify transactions on-chain. It is designed to integrate seamlessly with existing Express or Fastify routes without requiring a complete rewrite of your backend logic.
Configure your API server
Once the package is installed, you need to configure your API server to recognize x402 payment headers. The facilitator intercepts incoming requests and checks for a valid payment signature in the Authorization header. If a valid payment is present, it allows the request to proceed; otherwise, it returns a 402 Payment Required error.
You will need to initialize the facilitator with your specific chain configuration (e.g., Base, Polygon, or Ethereum) and your wallet address. This ensures that payments are routed correctly to your account. Refer to the Coinbase x402 Quickstart for detailed configuration options.
Test with a local transaction
Before going live, test your endpoint with a small USDC transaction. Use a testnet environment first to verify that the facilitator correctly identifies and validates the payment. This step is critical to ensure that your NFT metadata refresh logic only executes when payment is confirmed.
Below is a live chart of USDC to show the stability of the asset used for these micro-transactions.
Connect metadata refresh endpoints
Once you have verified the x402 payment, the next step is linking that verification to the specific metadata refresh APIs used by your NFT ecosystem. This connection ensures that only paid or authorized requests trigger updates to token attributes, images, or descriptions. You are essentially building a bridge between your payment verification logic and the blockchain indexers.
Different platforms handle these updates differently. Alchemy, OpenSea, and Thirdweb each provide distinct endpoints for queueing or forcing metadata refreshes. Your code needs to identify which provider hosts your NFTs and route the post-payment signal accordingly.
1. Identify your metadata provider
Before writing any integration code, confirm which API provider is currently caching your NFT data. Most creators use Alchemy for on-chain indexing, OpenSea for marketplace visibility, or Thirdweb for direct contract management. If you are using a custom contract, you might need to trigger a contract function rather than an external API call.
2. Map the refresh endpoint
Each provider has a specific endpoint for refreshing metadata. For Alchemy, you typically call the refresh_nft_metadata endpoint, passing the contract address and token ID. OpenSea uses a similar queueing mechanism via their API. Thirdweb often requires updating the base URI in the contract itself. Ensure your x402 verification logic triggers the correct endpoint for your specific setup.
3. Handle provider-specific requirements
Not all providers support the same chains or token standards. Alchemy’s refresh endpoint, for example, is primarily supported on Ethereum mainnet. If you are operating on Layer 2 or alternative chains, you may need to use a different indexer or wait for native sync times. Check the official documentation for your provider to understand any chain limitations or rate limits.
4. Implement the post-payment trigger
In your x402 middleware, add a step that executes the refresh call only after the payment is confirmed. This usually involves making a server-side request to the provider’s API using your private API key. Make sure to handle errors gracefully—if the refresh fails, the NFT metadata will remain stale, which can confuse buyers.
5. Verify the update
After triggering the refresh, wait for the provider to process the request. Most services return a status code or a job ID. You can then poll the endpoint or check the NFT’s current state to ensure the metadata has updated. This verification step is crucial for confirming that the x402 payment successfully unlocked the metadata change.
| Provider | Endpoint Type | Supported Chains |
|---|---|---|
| Alchemy | API Refresh | Ethereum Mainnet |
| OpenSea | API Queue | Multi-chain |
| Thirdweb | Contract Update | Multi-chain |
Handle common integration errors
x402 Endpoints for NFT Metadata Refresh troubleshooting should start with a clear boundary: what is actually broken, and what still works normally. Check the display, network connection, paired devices, app access, and recent updates before assuming the whole system needs a reset. A small connection failure can make the main screen feel unreliable even when the core system is fine. Work from low-risk checks to deeper resets. Confirm power state, safe parking, account access, and signal first. Then restart the interface, wait for it to reload completely, and test the original symptom. Avoid changing multiple settings at once because that makes it harder to know which step actually fixed the problem. If the issue affects safety information, repeats after every restart, or appears with warning messages, treat the reset as a temporary diagnostic step rather than the final fix. Document the symptom and move to official support instead of stacking more DIY attempts.
The simplest way to use this section is to keep the setup small, verify each change, and record the stable configuration before adding optional accessories.
Verify payments and trigger updates
You’ve sent the payment. Now you need to confirm the transaction landed and update the metadata before the user sees anything. This is where most integrations stall—assuming success without checking the chain. We’ll walk through the final verification steps to ensure your x402 endpoints for NFT metadata refresh are firing correctly.
Before touching the blockchain, check your internal ledger or the x402 callback. Ensure the paymentId matches the request and the status is completed. If the payment is still pending, hold off on the metadata update. Premature updates lead to orphaned tokens and frustrated users.
Double-check the transaction hash on the relevant blockchain explorer. For x402, this means verifying the payment contract interaction. Look for the specific event log that confirms the transfer. This step is your insurance policy against double-spending or failed transactions that might slip through network delays.

Once confirmed, call your metadata update endpoint. Pass the new attributes or URI. Keep the payload clean and minimal to avoid gas spikes. This is the core of your x402 endpoints for NFT metadata refresh service—ensure the response is synchronous or returns a clear job ID for async tracking.
Send a confirmation webhook or push notification to the buyer. Log the entire sequence—payment ID, transaction hash, and metadata update status—in your analytics. This data is vital for debugging and proving to users that their payment resulted in a tangible change.
By following this sequence, you ensure that your x402 endpoints for NFT metadata refresh are not just functional, but reliable. Users trust systems that confirm every step, and this verification process builds that trust.
No comments yet. Be the first to share your thoughts!